

How to Photograph the Night Sky and Stars: Camera Settings
Night-sky photography is one of the most spectacular experiences for people who love astronomy and travel. Even a simple camera or a modern smartphone can capture impressive phenomena – from the bright lunar disk to the Milky Way, meteors and the aurora.
To connect night-sky observations with a wider northern travel plan, see the North section.

NORTH
North: Iceland, Norway, northern lights and Lofoten
A dedicated OndaTravel section for northern trips: Iceland, Norway, fjords, Lofoten, northern lights, ready-made routes and planning tools.
If you want to plan the best time for a photo session, also check Moon phases, the meteor shower calendar and the astronomical events calendar.
Night-sky photography in short
The most important things in night-sky photography are: a stable tripod, manual mode, RAW recording, manual focus, control of the exposure time and matching the settings to the object. The Moon is photographed differently from the Milky Way, meteors and the northern lights.
Night-sky observation calendars and tools
A good night-sky photography plan starts by checking what will actually be visible on a given night. The September and October guides help you match a session to the Moon phase, meteor showers, planets, aurora activity and the darkest observing windows before you choose a location, lens and camera settings.

SEPTEMBER 2026
Monthly guide
Sky events in September 2026: meteors, equinox and the Moon
Sky events in September 2026: ε-Perseids, New Moon, equinox, Neptune, Full Moon, aurora, space missions and the best observing nights in Poland.
Open guide
OCTOBER 2026
Monthly guide
Sky events in October 2026: Draconids, Orionids and Saturn
Sky events in October 2026: Saturn, Draconids, New Moon, Orionids, Taurids, Full Moon, space missions and the best observing nights.
Open guideBasic equipment for night-sky photography
- Camera or smartphone – ideally with manual mode and RAW support.
- Tripod – absolutely essential for long exposures.
- Wide-angle lens – ideal for the Milky Way and meteor showers (for example 14–24 mm on full frame).
- Remote release / intervalometer / self-timer – to avoid camera shake.
- Spare battery – cold weather and long exposures drain batteries quickly.
How to photograph the Moon
The Moon is one of the easiest night-sky targets to photograph. The best results often come during moonrise or moonset, when it is low over the horizon. It is also worth checking supermoon dates if you want the disk to appear larger.

PRZEWODNIK
Supermoon 2026: What It Is and When It Happens
Supermoon 2026: learn what it is, when it happens, how to observe it and which related night-sky guides are worth checking.
Important: even though you photograph it at night, the lunar disk is very bright because it is illuminated by the Sun. The most common mistake is using too long an exposure, which turns the Moon into a white patch without detail.
Starting settings: M mode + RAW, ISO 100–200, aperture f/8–f/11, shutter 1/125–1/250 s, and manual focus on the edge of the lunar disk.
How to photograph the Milky Way
The Milky Way is much fainter than the Moon and needs different settings. The best results come far away from cities, under a dark sky and with little moonlight. If you are planning a session, compare the date with Moon phases and the astronomical calendar.
- Focal length: 14–24 mm on full frame / 10–16 mm on APS-C.
- Aperture: around f/1.8–f/2.8.
- ISO: roughly 1600–6400, depending on camera and sky brightness.
- Exposure time: about 8–20 seconds, depending on focal length.
- White balance: fixed value, for example 3500–4200 K, and save RAW.
Why is exposure time limited? The stars move across the sky because of Earth’s rotation. If the exposure is too long, they turn into trails. As a quick reference many photographers use the “500 rule”, although in practice it is often safer to shorten the result a little.
Photographing shooting stars step by step
The best time to photograph meteors is during active showers such as the Perseids or Geminids. Check the current dates in the meteor calendar.
Before the night of August 12–13, also check the dedicated Perseids 2026 guide for the peak hours, where to look and a practical observing plan.
The most important rule is simple: increase your chances by taking lots of frames one after another. Use an intervalometer or burst mode, keep the gap between frames short and let the camera work for 30–120 minutes.
- Focal length: 14–24 mm.
- Aperture: around f/2–f/2.8.
- ISO: 1600–6400.
- Exposure time: 8–20 seconds.
If the background becomes too bright, shorten the exposure to about 4–8 seconds and raise ISO slightly. Shorter exposures can be more effective in light pollution or under a bright Moon.
What camera settings should I use for night-sky photos?
- ISO: 800–3200 (sometimes 6400 under a very dark sky and with a bright lens).
- Aperture: around f/2.8–f/4, or wider if the lens stays sharp.
- Exposure time: around 10–25 seconds for wide-angle shots; the longer the focal length, the shorter the time.
- Manual focus (MF), ideally on a bright star or planet using Live View.
ISO brightens the frame but also increases noise. Aperture controls light intake. Exposure time is limited by star motion, so if stars begin to stretch, shorten the time and increase ISO.
How to focus in night-sky photography
Autofocus often struggles in darkness, which is why manual focus is usually the safest option at night. Switch to MF, use Live View, zoom in on a bright star or planet and turn the focus ring until the point of light is as small as possible.
Do not rely blindly on the infinity mark on the lens – in many lenses the true infinity point sits slightly before or after the printed mark.
How to photograph the night sky with a phone
A modern smartphone can take a good night-sky image, but it needs a dark location, a stable support and some manual control. In practice, Pro / Manual / Night Mode with ISO, shutter and focus control works best, especially if the app can save RAW.
- Tripod or very stable support for the phone.
- Night mode or manual mode.
- ISO about 400–1600.
- Exposure time about 4–15 seconds.
- Manual focus to infinity if the app allows it.
- Use a 2–5 second self-timer so you do not shake the phone.
With a phone it is easiest to photograph brighter objects and wide scenes: the Moon low over the horizon, the aurora, the Milky Way in a very dark place or a starry landscape.
Most common mistakes
- Photographing under a Moon that is too bright, making the sky look gray.
- No tripod or camera shake during release.
- Exposure times that are too long and create star trails.
- Shooting in heavily light-polluted places.
- Poor focus caused by autofocus or accidental movement of the focus ring.
Read also / continue

Meteor Shower Calendar 2026
Choose meteor-shower dates and check whether moonlight will affect photos.
Open calendar
Moon Phases 2026
Find dark nights for stars and brighter nights for lunar landscapes.
Check phases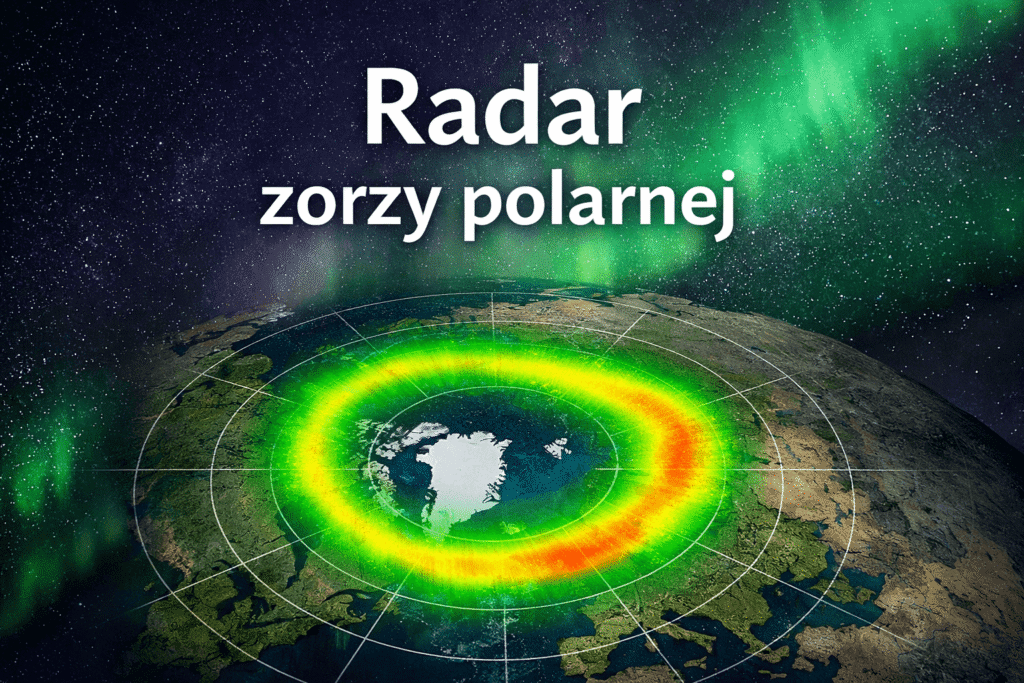
Aurora radar and forecasts
Use live conditions and location forecasts when planning aurora photography.
Open radarThe key is to match the settings to the subject: shorter times and lower ISO for the Moon, longer exposures and higher ISO for the Milky Way and meteors, and a stable support every time.
FAQ: night sky photography – frequently asked questions
What camera settings should I use for night-sky photos?
ISO 800–3200 (sometimes 6400 under a very dark sky with a bright lens), aperture around f/2.8–f/4 or wider if the lens stays sharp, and an exposure of roughly 10–25 seconds for wide-angle shots. The longer the focal length, the shorter the exposure has to be.
Why is the exposure time limited?
Because of star motion. If the stars begin to stretch into trails, shorten the exposure and raise the ISO instead.
How should I focus at night?
Manually. Autofocus struggles in darkness, so switch to MF, use Live View, zoom in on a bright star or planet and turn the focus ring until the point of light is as small as possible.
Can I just set the lens to the infinity mark?
Not blindly. On many lenses the true infinity point sits slightly before or after the printed mark, so always confirm focus on a bright star in Live View.
What do ISO and aperture actually change?
ISO brightens the frame but also increases noise; the aperture controls how much light the lens lets in. Exposure time is limited separately, by star motion.
Can I photograph the night sky with a phone?
Yes, if you have an app with manual control over ISO, shutter and focus — ideally one that can save RAW. Use ISO around 400–1600 and an exposure of about 4–15 seconds.
How do I avoid shaking the phone?
Put it on a tripod or a very stable support, set focus manually to infinity if the app allows it, and use a 2–5 second self-timer so you do not move the phone when releasing the shutter.
What is easiest to photograph at the start?
Brighter objects and wide scenes: the Moon low over the horizon, the aurora, the Milky Way from a very dark place, or a starry landscape. Under light pollution or a bright Moon shorter exposures often work better.